

How To Create A React Npm Package
How to create NPM package for React
This article is a tutorial on creating NPM package for React from scratch.

Let's start
To get started you need to create a repository for your package then clone it and go to the package directory.
Initialization package.json
To initialize the package.json run the following command in the terminal:
npm init Then fill in the data about your package and the script will configure your package.json.
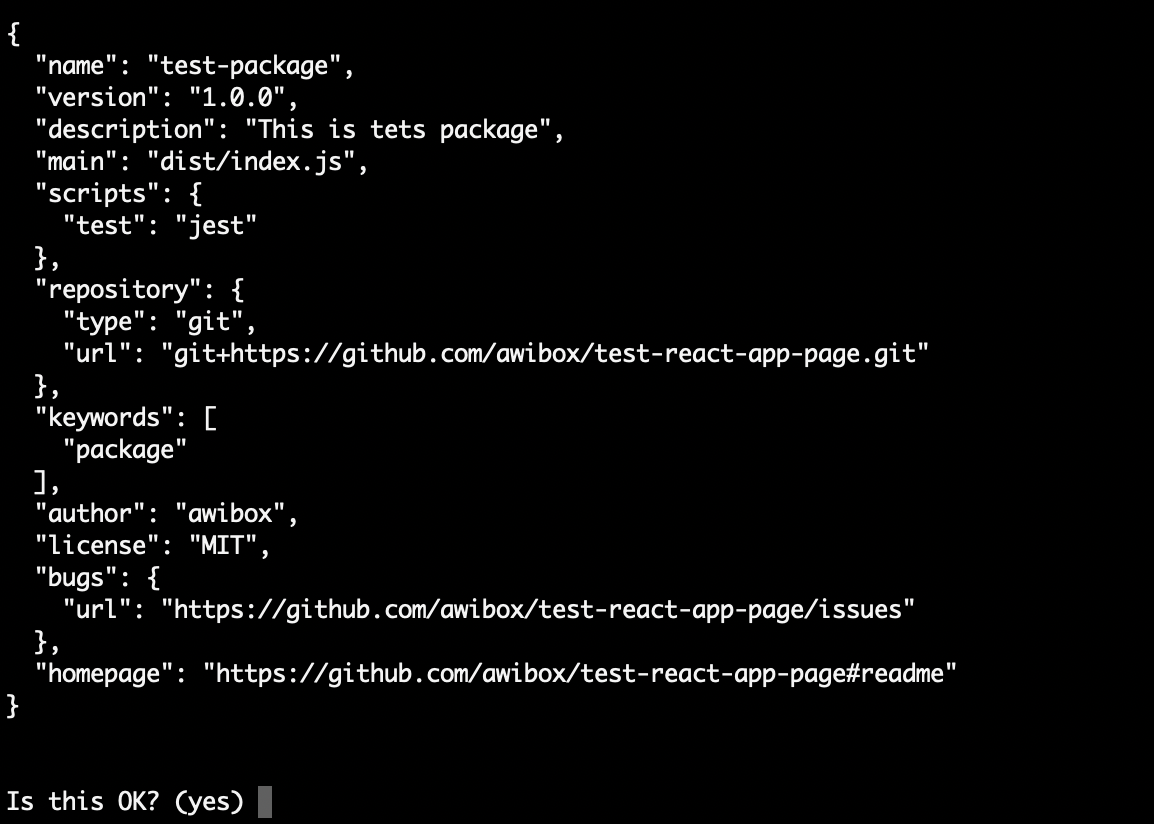
At the end confirm that the data is correct by entering yes.
Creating a component
Before creating the component install the packages for React:
yarn add react react-dom Now we are going to create the component but before it, let's create a source directory:
mkdir src And create a components directory because our package may contain many components:
          cd src
mkdir components
For example we will create a HelloWorld.js file that will contain a simple component with the following content:
                      import React, { Component }            from 'react';              class              HelloWorld              extends              Component {
              render() {
              return              (
              <div>
              Hello world
              </div>
              );
              }
}                          export default              HelloWorld;
Then create an index.js file in the src directory to define our entry component in it:
import HelloWorld from './components/HelloWorld'; export default HelloWorld;
Let's start configuring the build of our component.
Babel
Since we use new generation of JavaScript for React we need to use Babel to compile the code for browsers.
Let's install the packages that we need to use babel:
yarn add --dev @babel/core @babel/plugin-proposal-class-properties @babel/preset-env @babel/preset-react babel-core babel-loader To use babel we need to create a file .babelrc in the root directory with the following settings:
Configuring a Webpack
Webpack is required for bundling JavaScript files to be used in the browser.
The first step is to install the necessary packages:
yarn add --dev webpack webpack-cli Then you need to create a configuration file — webpack.config.js. In this file you need to describe the entry point for package, set the build rules and show where to put the built files:
Please note: your settings for parameters output.path and output.filename in webpack.config.js must coincide with the main parameter in package.json. In this example this is "./dist/index.js".
Now add the build script to the package.json:
"build": "webpack --mode production" And start our first build:
yarn build 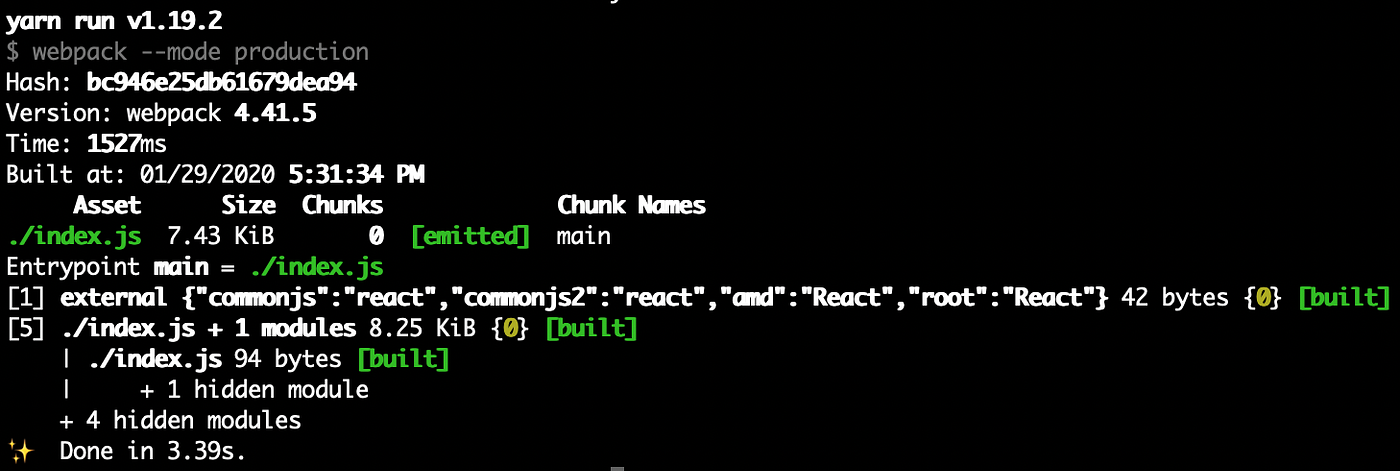
ESLint
If we want to check our code automatically we should add ESLint. We will use ESLint with settings from Airbnb.
Let's install the necessary packages:
yarn add --dev eslint eslint-config-airbnb-base eslint-plugin-import eslint-plugin-react And create a config file .eslintrc:
Now we will add the script of the linter launch as well as the script for automatically fixing errors in the package.json:
          "lint": "eslint --report-unused-disable-directives src",
"fix": "eslint --fix --report-unused-disable-directives src"
And we can run linter:
yarn lint 
Jest
I prefer to use Jest platform because of snapshot testing — it can help to simplify testing without losing quality. We will also use the Enzyme to mount the component in tests. Install the packages:
yarn add --dev enzyme enzyme-adapter-react-16 enzyme-to-json jest jest-enzyme Then create the file jest-setup-tests.js with the settings:
Add Jest config to package.json:
Then add script for running test in package.json:
"test": "jest" Now let's create our first test in the specs directory with name HelloWorld.spec.js:
                      import React from 'react';
            import            {            shallow            }            from 'enzyme';
            import HelloWorld            from '../src/components/HelloWorld';describe('HelloWorld', () => {
              it('should render correctly', () => {
              const              component =              shallow(<HelloWorld              />);
              expect(component).toMatchSnapshot();
              });
});
And run testing process:
yarn jest 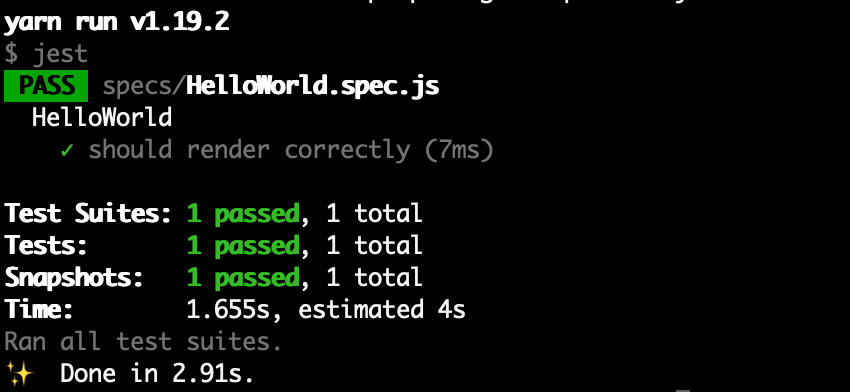
Coveralls & Travis-CI
We'll use Travis as a continuous integration system that will help you to build a package, check it with linter, run tests, collect test coverage and send it to test coverage tracking service called Coveralls.
First of all you need to create accounts on the Travis and Coveralls sites and connect the repository.
Then install the Coveralls package:
yarn add --dev coveralls And add the script to package.json:
"coveralls": "jest --coverage && cat ./coverage/lcov.info | coveralls" Now we need to create a config file .travis.yml for Travis-CI:
When this file is in master branch, the package will automatically start building in Travis CI
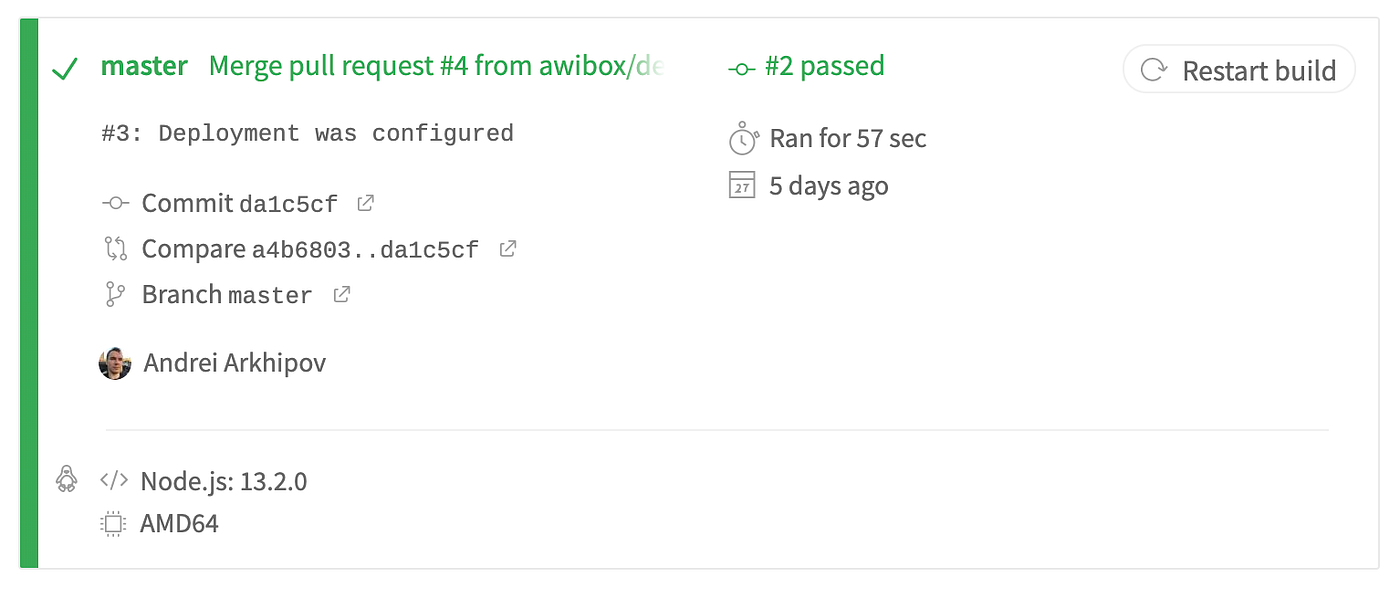
At the end of the build Travis will set a green check mark and 'Verified' badge next to your commit or pull request if the build was successful.

Publishing
It's time to publish the package but in order to do this we need to log in to NPM by running the command:
npm login After we have logged in we can publish the package with the following command:
npm publish NPM package template
You can use react-npm-package-template to quickly build your package.
Thanks for your attention. I wish you trouble-free package development.
How To Create A React Npm Package
Source: https://medium.com/awb-pw/how-to-create-npm-package-for-react-21a976505f6f
Posted by: jamesheremer.blogspot.com
0 Response to "How To Create A React Npm Package"
Post a Comment